
Last updated October 8, 2026
Whole-system duct and dryer vent check with before-and-after photos - you see exactly what came out of your vents
That "$99 whole-house special" is a bait ad - the real number appears once they are in your hallway, or the "clean" is a shop-vac at the register. We photograph the inside of your ducts before and after instead.
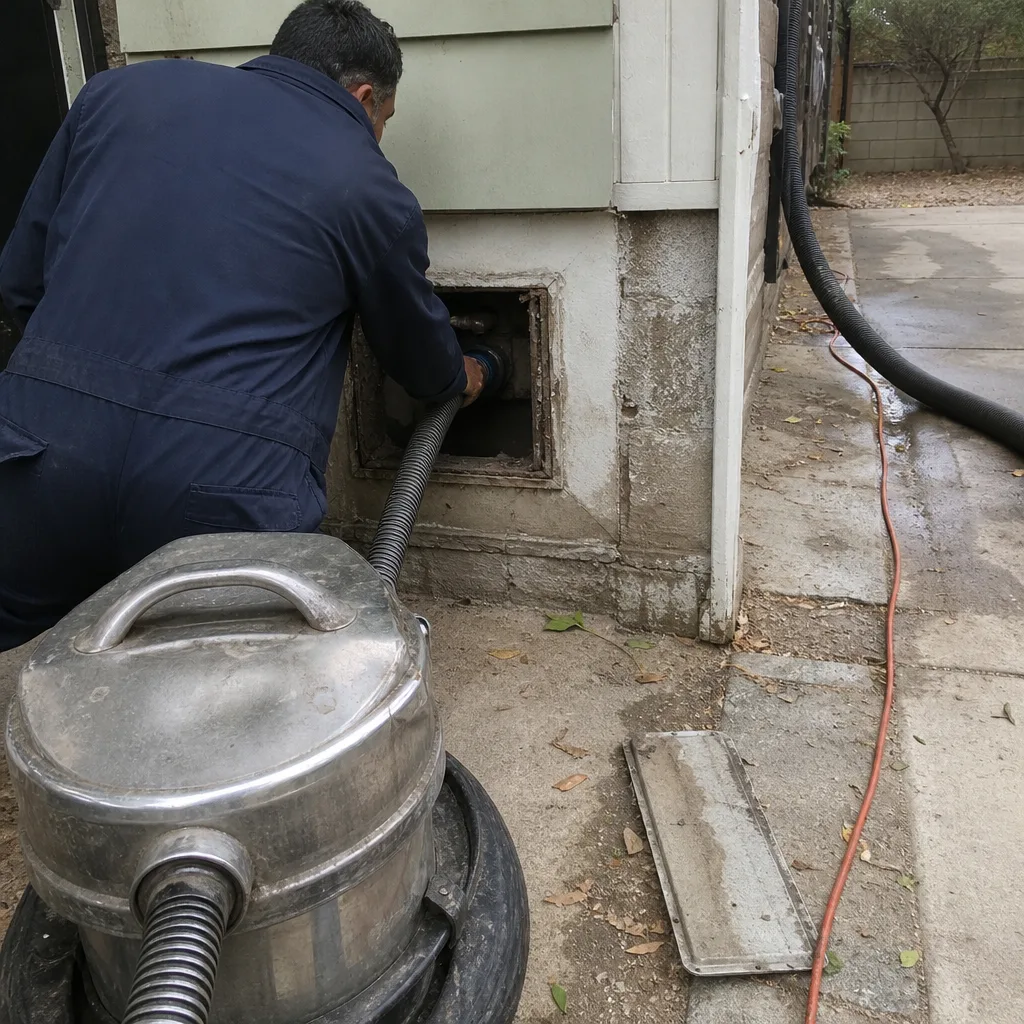 Before
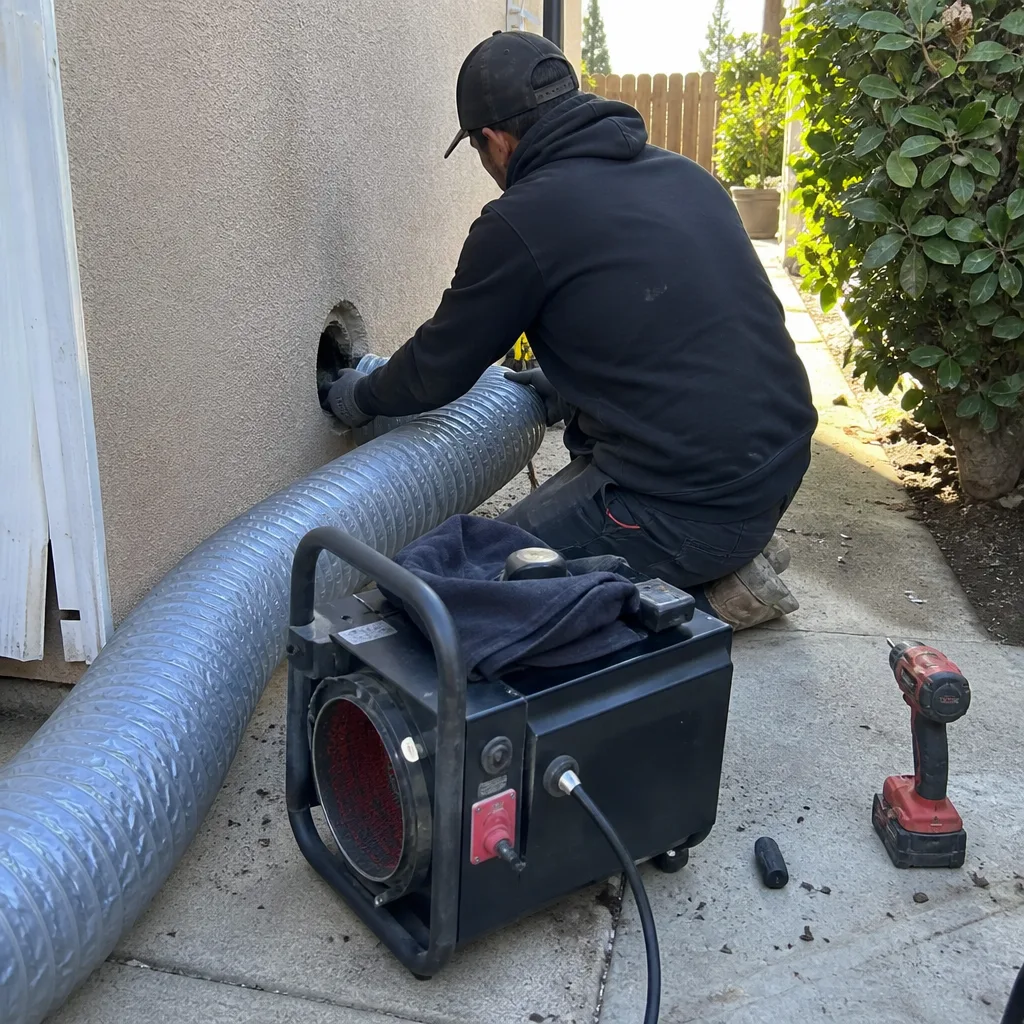 After
After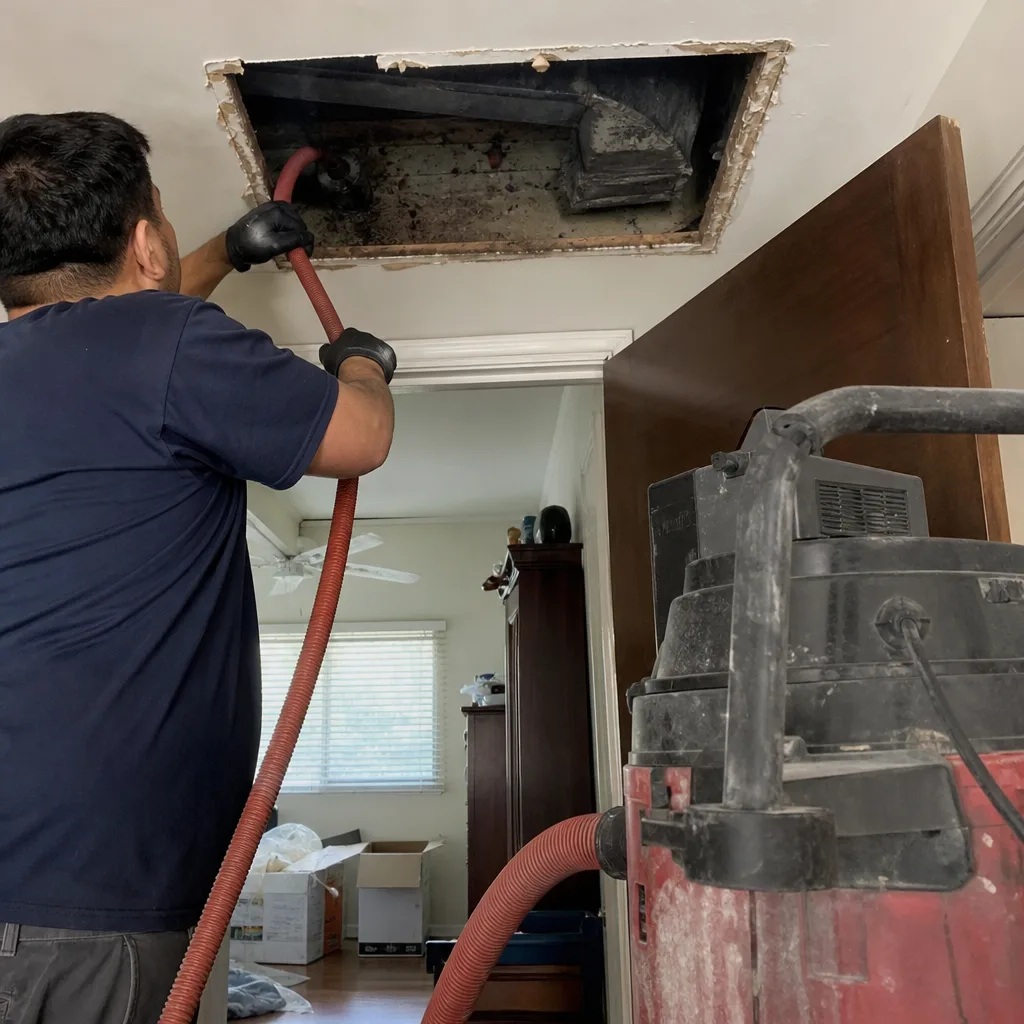 Before
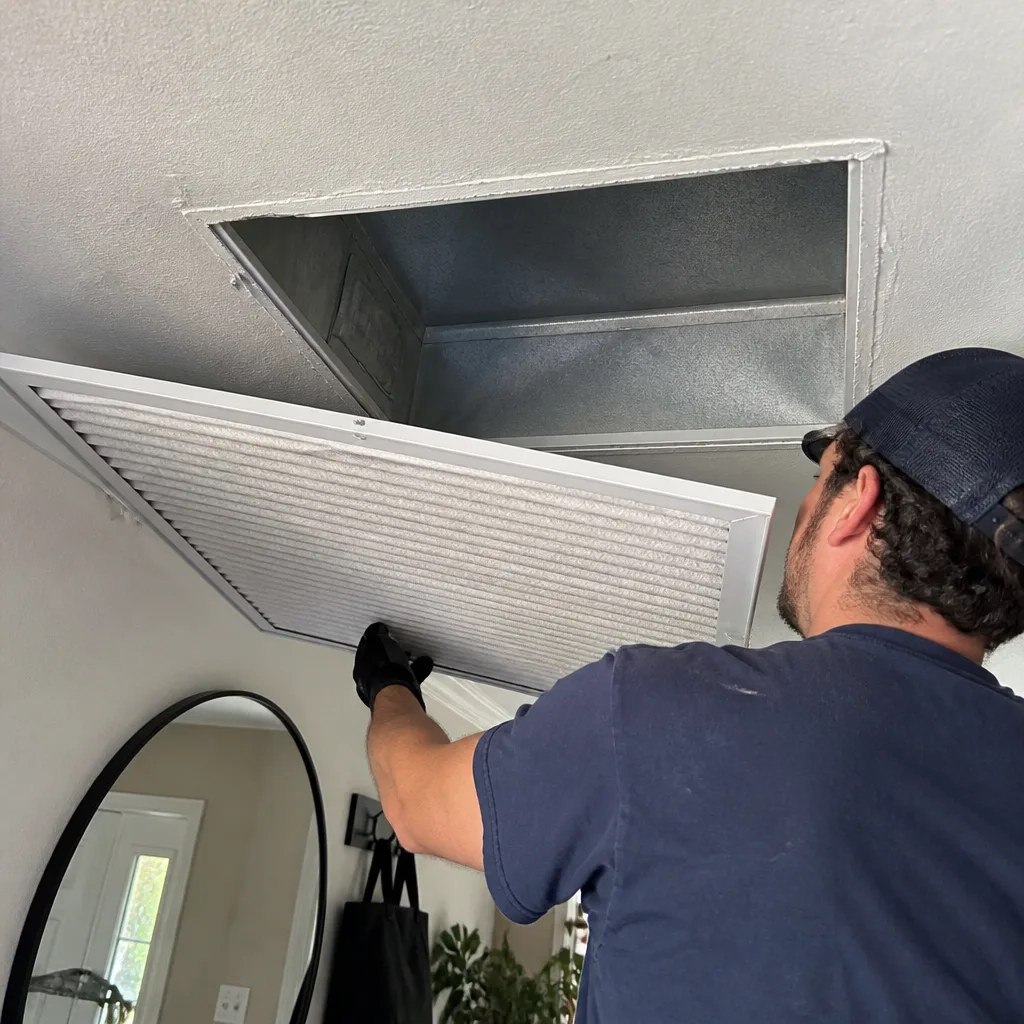 After
After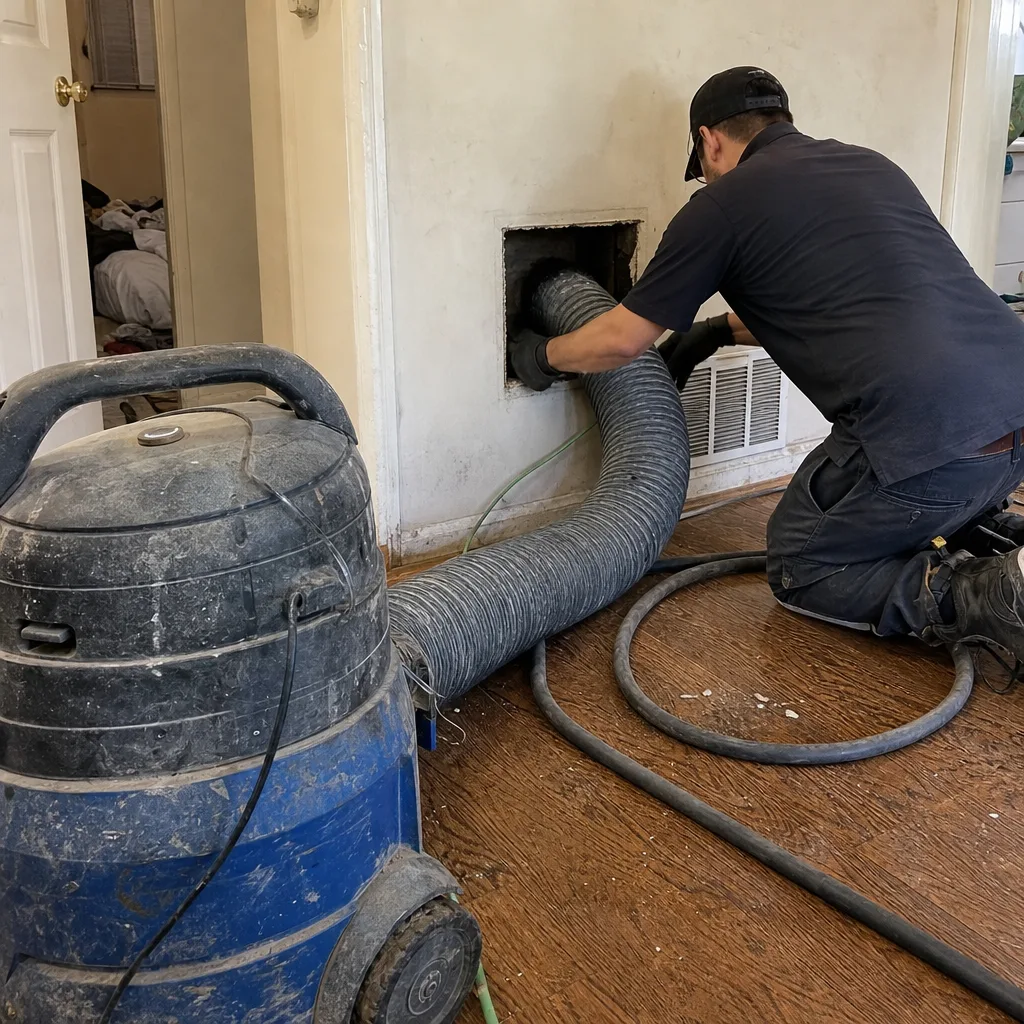 Before
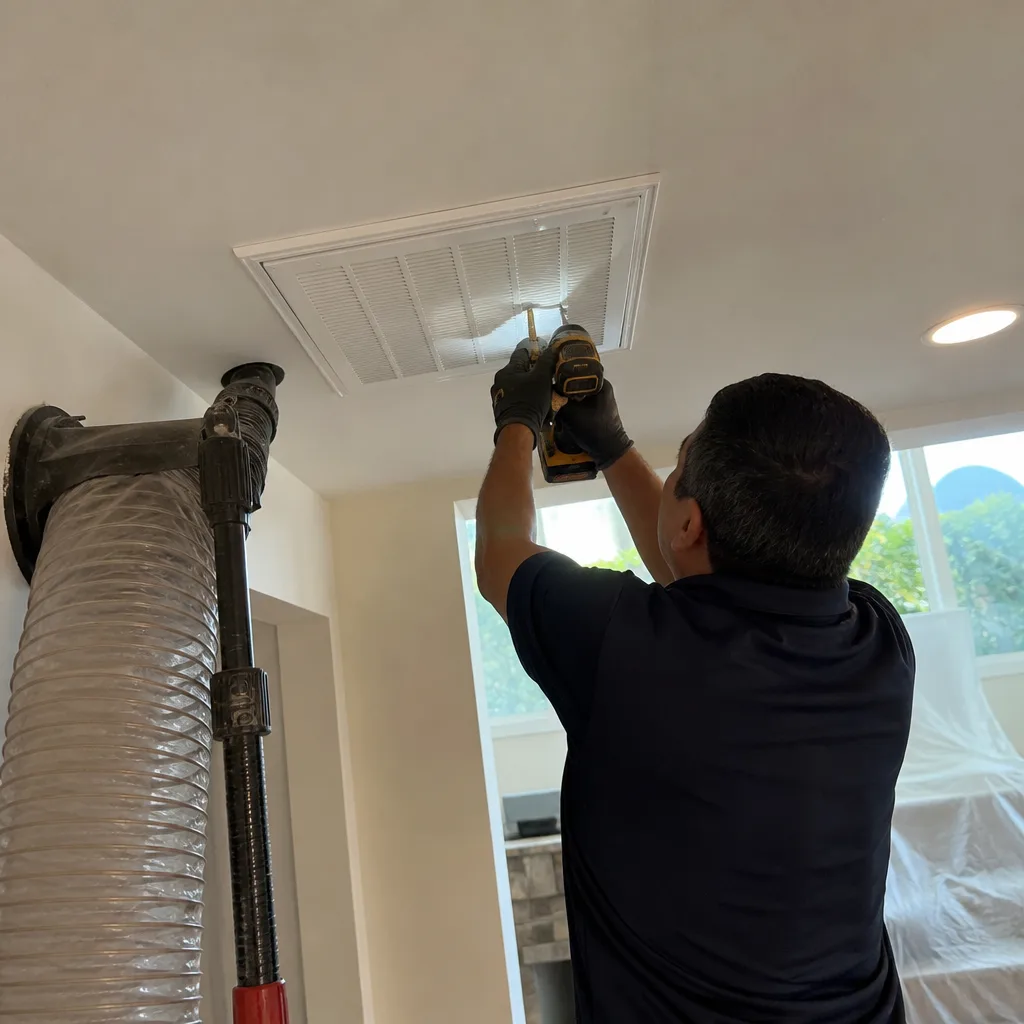 After
AfterDIY vs Professional Dryer Vent Cleaning: What’s Safe to Do Yourself
A flexible dryer vent brush kit from a hardware store can clean the first three feet of duct effectively, and push a concentrated lint mass into the middle of a 15-foot run where no brush can reach it, creating a blockage that didn’t exist before you started. That’s the core problem with DIY dryer vent cleaning: the tooling most homeowners own is sized for the visible part of the job, not the part that actually catches fire. In Los Angeles, where many laundry rooms sit in interior hallways or upstairs closets with long vertical or horizontal vent runs to the exterior, the gap between what a DIY kit can do and what your duct actually needs is wider than in most of the country. This guide tells you exactly where that line is, how to measure your own setup in ten minutes, and what Dryer Vent Cleaning services with professional equipment do that a flexible rod cannot.
Quick Answer
DIY dryer vent cleaning is only fully safe when your dryer vents directly through an exterior wall with fewer than 4 feet of rigid duct and a standard cap. On any run longer than 15 feet, or any run with more than two 90-degree bends, a flexible DIY brush kit typically leaves the most dangerous lint layer compacted in the middle of the duct, where it can create a denser blockage than existed before you started. For those longer or multi-bend runs, professional rotary brush equipment is the only method that removes lint from the full duct length without leaving compaction zones behind.
Table of Contents
- What’s Actually Safe to Do Yourself
- The Compaction Problem: Why Partial Cleaning Can Be Worse Than None
- How to Measure Your Dryer Duct Run and Count Elbows
- What Rotary Brush Systems Do That Flexible Rods Cannot
- The One Scenario Where DIY Is Fully Appropriate
- Los Angeles-Specific Dryer Vent Considerations
- How to Verify Any Dryer Vent Cleaning Was Done Correctly
- Common Mistakes to Avoid
- When to Call a Professional
- Frequently Asked Questions
- The Bottom Line
What’s Actually Safe to Do Yourself
Three specific tasks sit firmly inside the safe DIY zone. We tell our Los Angeles customers this plainly because knowing the boundary protects their homes better than any warning label does, and we’ve covered it in Dryer Vent Cleaning Troubleshooting: Common Problems and How to Fix Them.
First: the lint trap housing. Pull the lint screen out before every load. Vacuum the cavity it sits in with a narrow crevice attachment once a month. Lint accumulates against the trap frame and the inside walls of the housing, and that accumulation is yours to manage without any special equipment. A standard household vacuum with a narrow attachment does this job completely. This task is safe, simple, and genuinely effective as a monthly habit.
Second: the first 24 inches of accessible duct. Pull the dryer away from the wall, disconnect the transition duct (the flexible aluminum or foil piece that runs from the dryer to the wall), and clean that entire transition section by hand. You can shake it out outside, vacuum it, or rinse a rigid metal transition duct with a garden hose and let it dry completely. This is a real maintenance win because transition duct lengths are short and fully accessible. Nothing about this task risks pushing debris deeper into your wall.
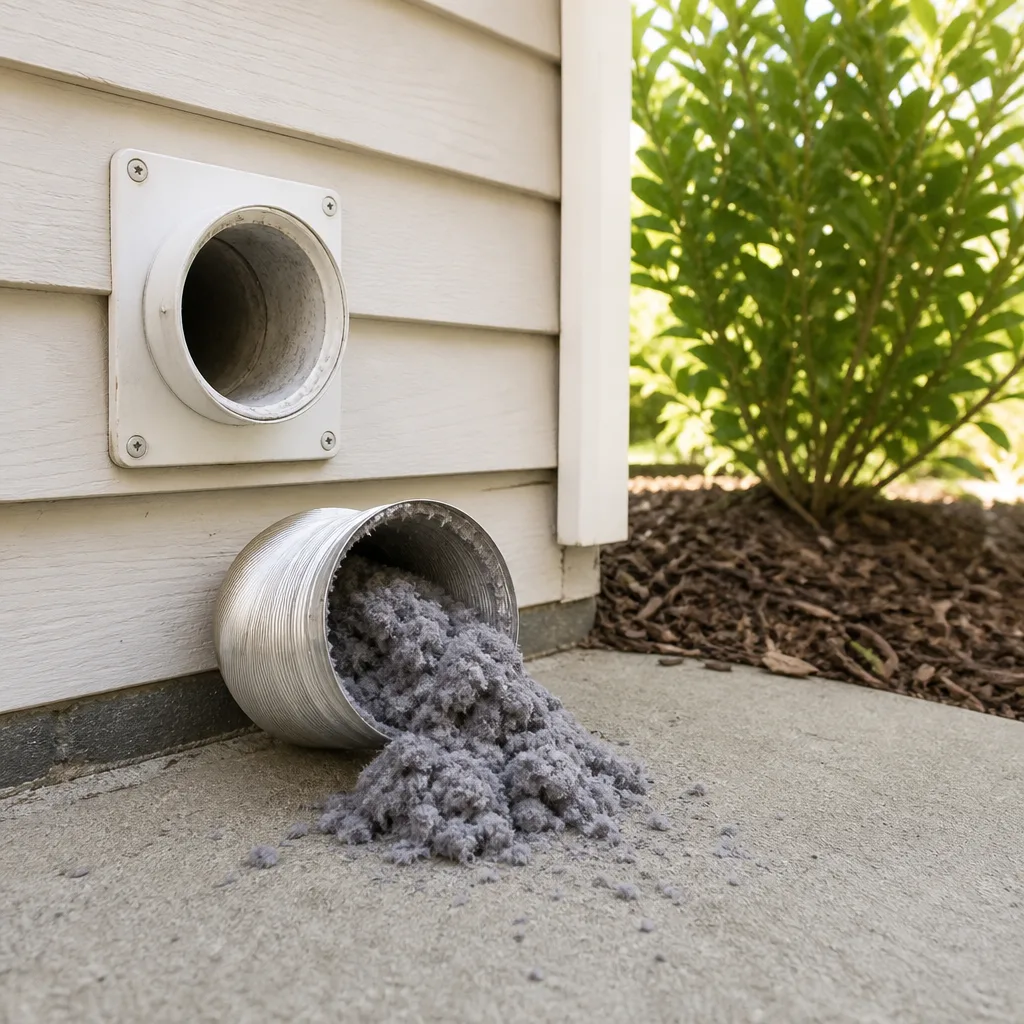
Third: the exterior vent cap. Walk outside, find the vent hood on the side of your house or roof, and check whether the flap opens when the dryer runs. Remove visible lint birds’ nests and debris from the opening by hand while wearing gloves. You can clear the first inch or two of the duct beyond the hood opening with a bent coat hanger or a short brush. If you find dense blockage beyond arm’s reach, stop there. That’s the professional boundary.
Those three tasks cover the genuinely safe DIY work. Anything beyond them involves either long flexible rods you push through wall cavities, or rotary brush attachments you run on a drill, and that’s where the risk starts to shift from the lint itself to the method you use to remove it.
The Compaction Problem: Why Partial Cleaning Can Be Worse Than None
The counterintuitive truth about dryer vent cleaning is this: partial cleaning on a long duct run can leave you in worse shape than not cleaning at all. Here’s the mechanism, in plain language.
Dryer lint inside a vent duct is not uniformly loose. The first few feet near the dryer see consistent airflow, pushing new lint along. But every bend, sag, and transition point creates a low-airflow pocket where lint drops out of the airstream and begins to settle. Over months of drying cycles, those pockets become dense felted mats, layered and compressed by heat, humidity, and restricted airflow pressing against them from behind.
What happens when you push a hardware-store flexible brush through the first three feet of a 15-foot run? The brush head dislodges surface lint from the accessible portion and shoves it forward. As the dislodged material travels deeper and meets an existing partial blockage, it doesn’t pass through. It piles onto it. The result is a new, denser mass positioned exactly where no flexible rod can push it further, because the rod itself starts to flex and bend against the duct walls instead of advancing the brush head.
We have seen this pattern in Los Angeles homes in older neighborhoods like West Adams and Highland Park, where laundry areas were retrofitted into home layouts that push vent runs through awkward paths. A homeowner sees visible lint at the exterior cap, runs a flexible kit inside from the laundry side, sees lint come out, and feels the job is done. But a camera inspection afterward shows a compaction zone that wasn’t there before: a plug of felted lint in the middle of the run, denser than the layered accumulation that preceded it.
The practical rule is straightforward. If you can clean the entire length of the duct, DIY works. If you can only reach part of it, you risk moving the problem instead of solving it. Complete extraction is the standard. Anything less trades a distributed, slow accumulation for a concentrated, faster blockage.
How to Measure Your Dryer Duct Run and Count Elbows
Before you decide between DIY and professional cleaning, you need two numbers: the total length of your vent run, and the number of 90-degree bends it contains. Both numbers are measurable in about ten minutes without special tools.
To measure length, follow the visible path of the duct first.
- Pull the dryer away from the wall and note where the duct enters the wall or floor.
- Walk outside and find the vent hood on the exterior. Note its location relative to the laundry room.
- If you have a basement or crawlspace, go under the house and trace the duct path visually. In many Los Angeles homes, the duct runs through an attic instead, so check there first if your dryer is on an upper floor.
- Measure the straight-line distance from the dryer outlet to the exterior vent hood. Add two feet for every 90-degree bend on the visible path. That’s your effective run length.
Use a tape measure for the straight sections you can access. For wall or ceiling cavities you cannot open, estimate based on the distance between the two terminus points and add the known bends. You don’t need precision to the inch. You need to know whether your run is under four feet, between four and fifteen feet, or beyond fifteen.
Counting elbows matters more than most people expect. A 90-degree elbow adds friction equivalent to roughly five feet of straight duct. Two extra elbows can push an eleven-foot physical run to a twenty-one-foot effective run. The practical cutoff in the industry is this: if your vent run exceeds 15 feet, or includes more than two 90-degree bends, you need professional-grade extraction equipment to clean it properly. A flexible hardware-store rod kit will not effectively traverse that geometry, and the attempt creates the compaction problem described above.
Los Angeles building stock includes tons of homes with vent runs that violate this threshold. Mid-century ranch houses in the Valley often route dryer vents through slab foundations or crawlspaces with multiple offset bends. Older apartment conversions in Koreatown and Westlake push vents through interior wall cavities and up through ceilings. If your laundry room sits in an interior hallway with no exterior wall behind the dryer, your run is almost certainly past the safe DIY threshold. Write down your two numbers, then use the comparison below.
| Vent Run Configuration | Safe DIY? | Recommended Approach |
|---|---|---|
| Under 4 feet, rigid duct, one cap, exterior wall directly behind dryer | Yes | DIY with a simple brush and vacuum |
| 4 to 15 feet, fewer than 2 elbows | Mostly | DIY with caution; camera inspection recommended afterward |
| Over 15 feet, or more than 2 elbows | No | Professional rotary brush equipment |
| Any length through an attic, crawlspace, roof, or shared wall | No | Professional equipment with camera confirmation |
What Rotary Brush Systems Do That Flexible Rods Cannot
A professional dryer vent cleaning is not just a longer version of the DIY kit. The equipment operates on a different principle. Understanding the distinction helps you evaluate any service you hire.
Flexible rod kits work by pushing. A nylon or plastic brush head sits on the end of a segmented rod that you shove through the duct from one end. The rod advances by pushing force alone, and the brush head follows the path of least resistance. On any turn or sag, the rod flexes, the brush head deflects toward the duct wall, and material behind the deflection point remains untouched. Lint accumulated in low spots stays there. Lint before a bend gets pushed into the bend. The tool removes what is directly in its path and compacts what is not.
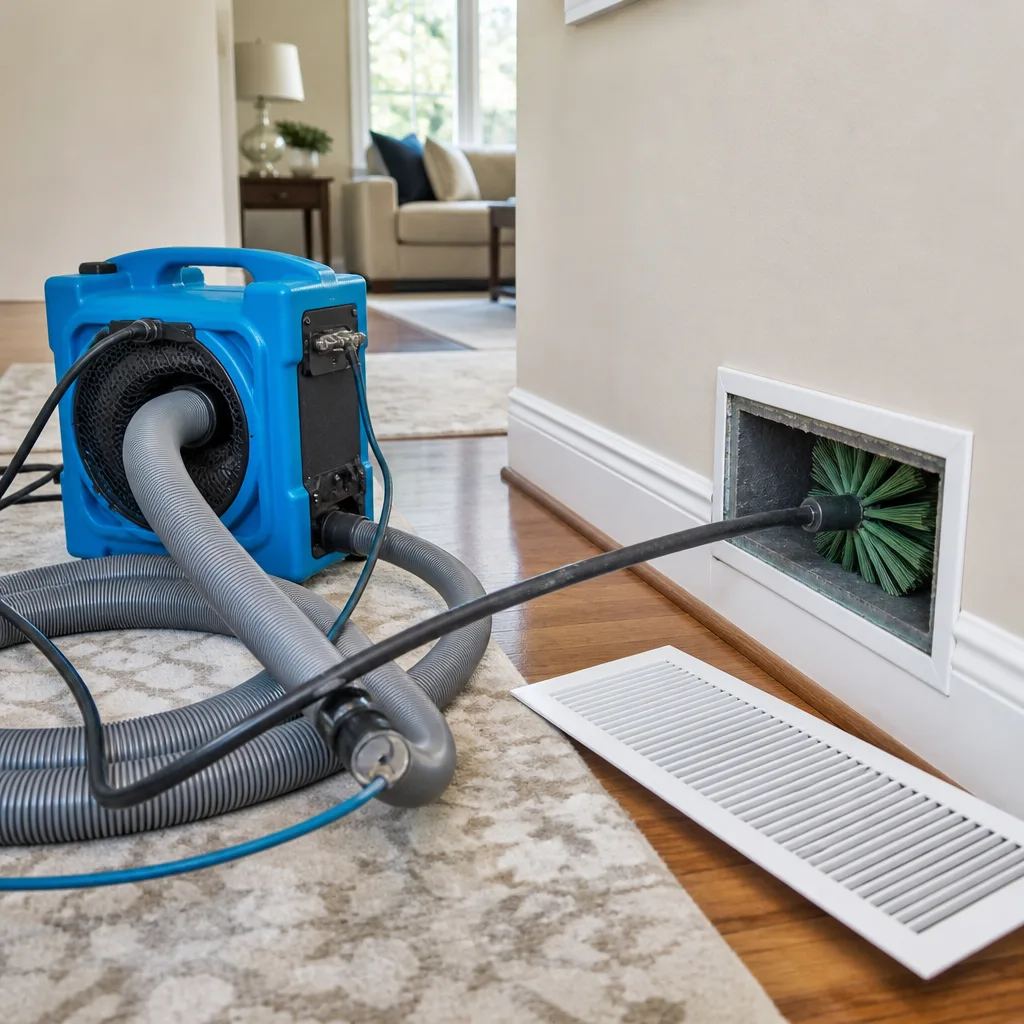
Rotary brush systems work by rotating while advancing. The brush head spins at several hundred RPM while an operator feeds it through the duct from a motorized drum. The spinning bristles scour the full circumference of the duct wall, dislodging lint that’s adhered to the surface, and the rotation breaks up felted mats instead of pushing them. As the brush advances, a vacuum system creates negative pressure at the opposite end of the run, pulling loosened material backward toward extraction rather than forward into the duct. The combination of rotational scour and simultaneous suction extracts lint from full-length runs including multiple bends, because the brush does not need to push through a blockage to reach it. It grinds through and removes.
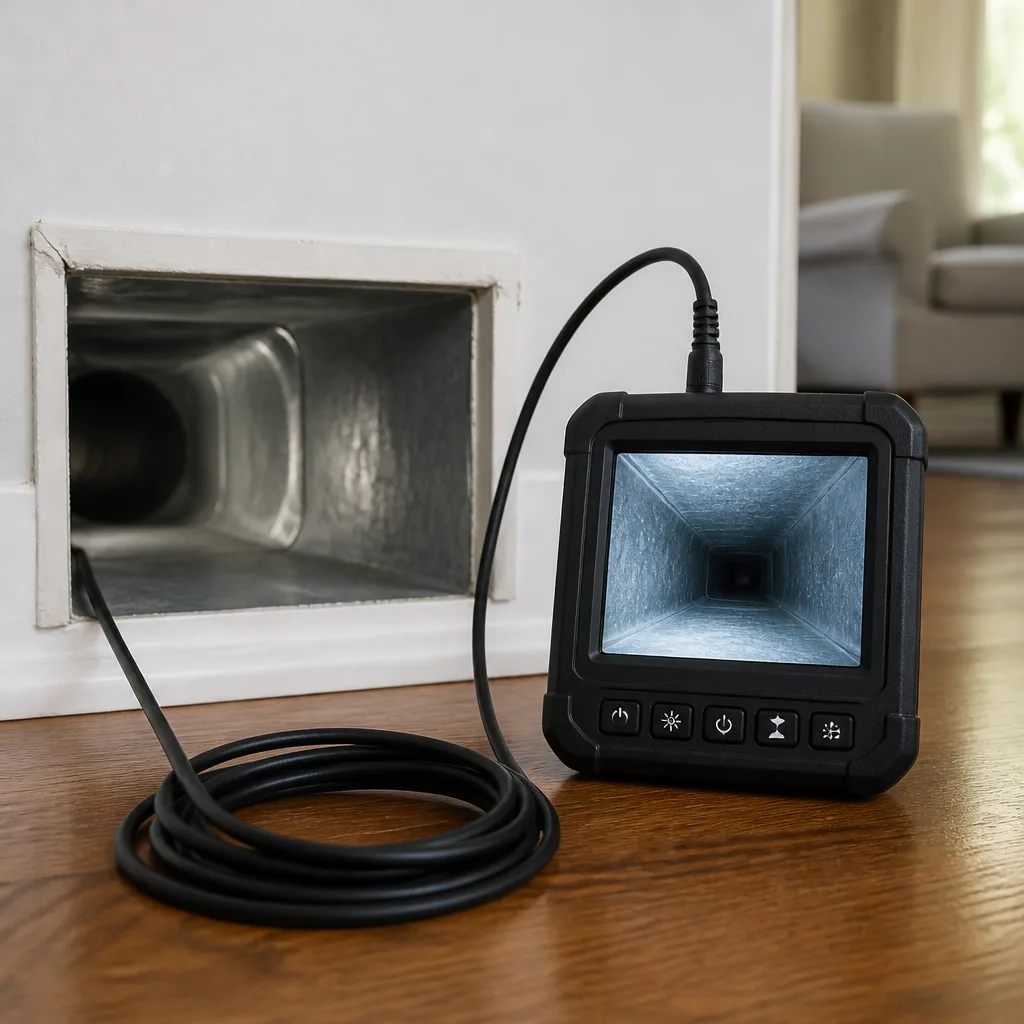
We run professional-grade equipment from trade-trusted brands like Rotobrush and Nikro on every dryer vent cleaning we do in the Los Angeles area. The reason matters more than the brand name: rotary extraction with negative pressure is the only method that removes lint from the entire interior surface of the duct rather than from the center line of the bore. When the job is done, we run a camera through the vent to confirm the duct walls are clean along the whole run, including past the bends. You cannot confirm that with a flexible rod kit. You can only confirm what came out, not what stayed in.
The One Scenario Where DIY Is Fully Appropriate
There is exactly one common residential configuration where DIY dryer vent cleaning is genuinely complete and safe: a dryer vented directly through the exterior wall behind it, with fewer than four feet of rigid duct, with no elbows, and capped by a standard flap hood on the outside.
If that describes your setup, here’s the full DIY procedure, step by step.
- Unplug the dryer and pull it away from the wall enough to access the transition duct.
- Disconnect the transition duct from both the dryer and the wall inlet.
- Clean the transition duct completely, either by vacuuming it out, shaking debris into a bag, or rinsing a rigid metal version with a garden hose and drying it thoroughly.
- From inside the laundry room, use a short, rigid vent brush to sweep the first two to three feet of the wall duct. You can reach the entire run because the run is under four feet total.
- From outside, remove the vent cap and clean the last foot from the exterior side with the same short brush, wearing gloves.
- Replace the vent cap, reconnect the transition duct with new foil tape (never screws, which catch lint), and plug the dryer back in.
- Run the dryer on air-only for 10 minutes and check the exterior cap for strong, steady airflow.
This procedure works because there is no middle section to the duct. The entire length is reachable from one end or the other. Nothing gets pushed deeper, nothing remains untouched, and the airflow check confirms the result. Homes with this configuration are more common in newer Los Angeles construction where laundry closets sit against exterior walls, and in some older bungalows where the washer and dryer hookup is on an enclosed back porch. Every other configuration requires a longer reach than a short brush provides.
Los Angeles-Specific Dryer Vent Considerations
Los Angeles presents a few dryer vent conditions that differ from the national picture. The climate itself is the first one. Dry heat accelerates the dehydration of lint, making it finer, lighter, and more readily airborne during cleaning attempts. The same low humidity that keeps your laundry drying fast also makes dislodged lint more likely to become household dust during a DIY attempt and more likely to compact densely when airflow stalls in a sag or bend. None of this makes cleaning more dangerous, but it does make the need for complete extraction more relevant: partially dislodged lint in a dry LA duct re-compacts faster than it does in a humid climate.
The second factor is housing stock. A very large share of Los Angeles single-family homes were built before modern dryer venting codes took effect. We work in neighborhoods spanning from San Pedro to Sylmar, and we routinely see vent runs that no current code would allow: corrugated plastic flex under floors, 25-foot runs with four bends, vents terminating into attics instead of the exterior, and foil transition ducts kinked behind the dryer. Older bungalow and Spanish-style homes in neighborhoods like Jefferson Park, Leimert Park, and Lincoln Heights often have laundry hookups added decades after the original construction, with vent paths squeezed into whatever cavity was available. If your home predates the 1980s, take the time to measure your run even if it looks short from the outside. The visible cap is rarely the whole story.
Third: wildfire season. Los Angeles County experiences elevated fire risk from July through November in most years, and a clogged dryer vent is one of the more preventable ignition sources inside a home. Local fire agencies publish annual reminders about dryer vent maintenance, and insurance carriers serving the LA market increasingly ask about dryer vent condition during policy renewals. The practical takeaway: your dryer vent is not just an appliance maintenance item in this region. It sits on the short list of household fire risks that a homeowner can actually eliminate with one maintenance visit.
How to Verify Any Dryer Vent Cleaning Was Done Correctly
If you do hire a professional, whether it’s us or another company in Los Angeles, verify three things before, during, and after the job. This same checklist works for evaluating any contractor.
Before: confirm the equipment type. Ask what cleaning method the technician will use and whether the duct will be inspected by camera afterward. A professional-grade dryer vent cleaning uses a rotary brush system with negative-pressure extraction, not a flexible rod kit from a hardware store, and not a leaf blower. A camera confirmation at the end of the job is the difference between “I cleaned your vent” and “here is your vent, clean, on video.”
During: watch the cap volume. A complete cleaning removes more material than the visible lint you saw at the exterior. Ask the technician to show you the debris collection bin or bag before they dispose of it. The amount of extracted lint should be consistent with a full-length cleaning. A single golf-ball-sized clump of lint from a 20-foot duct run is not a complete cleaning; it’s the visible portion of one.
After: check the airflow with a simple test. Run the dryer on air-only for ten minutes after the technician leaves, then go outside and hold a single sheet of paper against the vent hood. The flap should hold the paper firmly in place, and the airflow should feel like a strong steady push, not a weak flutter. If the cap flaps weakly or not at all, the duct is still obstructed or the cap is stuck.
Every reputable dryer vent cleaning company in Los Angeles should offer camera verification without being asked. It costs nothing extra and takes five minutes. If a company avoids it, ask why. The answer tells you everything you need to know about how that company works.
Common Mistakes to Avoid
- Using a leaf blower to blow lint out of a long duct. Leaf blowers move material erratically and can force debris into wall cavities, ceiling plenums, or attic insulation if the duct has any leak or separation. The pressure can also detach joint connections. This method creates more problems than it solves on any run longer than a few feet.
- Cleaning from the outside only. The exterior cap is the terminus, not the start. Lint accumulates along the full run, and cleaning the last foot from outside compacts the rest into the middle. Exterior-only cleaning is the most common false solution we see on LA rooftop vents and upper-wall terminations.
- Pushing a flexible rod through a corrugated plastic or foil duct. Those materials have ribbed interiors that a flexible brush catches on, tearing the duct or detaching the joints. Hardware stores sell universal kits that don’t distinguish between duct materials, and using one on a corrugated or foil run can turn an airflow problem into a leak problem.
- Ignoring the transition duct behind the dryer. The short flexible section between the dryer and the wall collects lint faster than any part of the system, and it’s the one section you can entirely clean yourself. A homeowner who never pulls the dryer out is cleaning around the most accessible part of the problem.
- Running the dryer on elevated heat to “burn off” lint. The ignition point of accumulating lint is much lower than the drying temperature, and this approach turns a ventilation maintenance task into a fire hazard. Never attempt to clear a clogged vent with heat.
- Screwing the transition duct together instead of using foil tape. Screw tips protruding into the airstream catch lint and accelerate buildup. Use UL-approved metal foil tape for all dryer vent connections. Every screw point is a future clog point.
- Collapsing the flexible duct behind the dryer when you push it back. The classic kink. Pull the dryer out, reconnect, then push it back gently and reach behind to confirm the flex section has maintained its full diameter. A kinked transition duct reduces airflow as much as a heavy lint load does.
When to Call a Professional
Call a professional when your measured vent run exceeds 15 feet, when it contains more than two 90-degree bends, when any section passes through an inaccessible wall cavity, attic, crawlspace, or roof, or when the duct was installed before the 1980s and may use out-of-code materials. Also call when your dryer takes longer than one cycle to dry a standard load, when the exterior flap doesn’t open during operation, or when you see visible debris piling up outside the vent hood. These are all signs that the blockage is beyond hand-reach territory. Linden Air Duct Cleaning offers free estimates in Los Angeles. Call (980) 447-2498 and speak to a live person, any hour, any day.
Frequently Asked Questions
Professional dryer vent cleaning in Los Angeles typically costs between $120 and $250 for a standard single-family home with an accessible vent run, and $200 to $350 for longer runs, rooftop terminations, or multi-story access that requires extension ladders. The price depends on run length, number of bends, and whether the termination is wall, roof, or crawlspace-mounted. Linden Air Duct Cleaning provides a written price before any work begins, every time. Call (980) 447-2498 for a free estimate specific to your home.
You know the work was done when the technician provides camera footage of the clean duct interior from end to end, including past every bend. You also know by testing the airflow yourself afterward: run the dryer on air-only and the exterior cap should flutter strongly and steadily. If a company refuses camera verification, treat that as a sign that you’ll be asked to trust rather than verify. We always run a camera through the full run before we call the job complete, and we show you the footage.
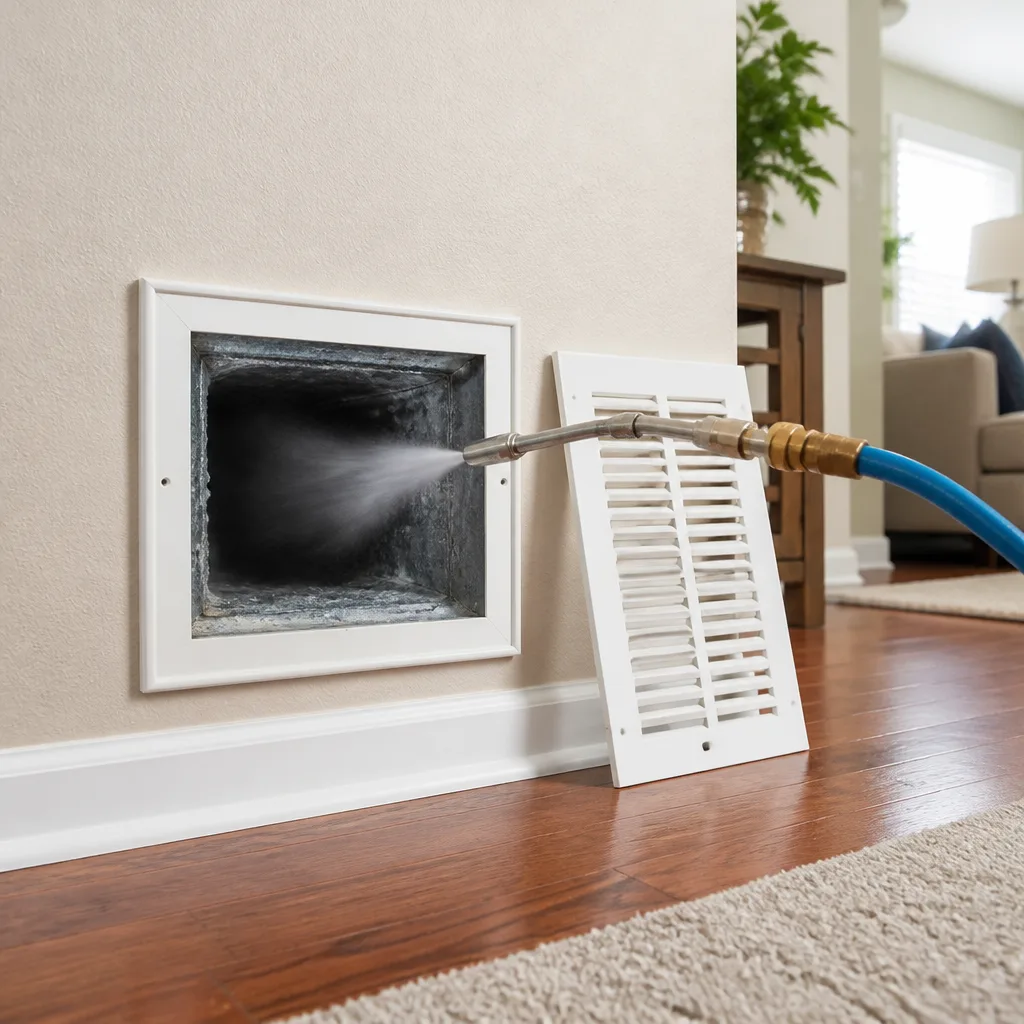
The cheapest dryer vent cleaning quotes in Los Angeles usually come from operators who use a basic flexible rod or an air wand, skip camera verification, and work as fast as the visible opening allows. These jobs clear the first few feet and the exterior hood, which is the same surface work you could do yourself with a hardware-store kit. A proper rotary extraction with negative pressure takes longer and uses commercial equipment, which is why the pricing sits higher. You’re paying for full-length removal, not an exterior cosmetic clearing.
For a household of two to four people doing four to seven loads per week, a dryer vent should be professionally cleaned every 12 to 18 months in Los Angeles. Households with large families, multiple pets, or long vent runs should lean closer to every 12 months. If your run is under four feet and you’re diligent with the lint trap and monthly transition duct cleaning, you may stretch to 24 months, but annual inspection is still wise; see our Dryer Vent Cleaning Maintenance Schedule: What to Do and When.
No. Rooftop dryer vent cleaning requires working at height, and the fall risk is immediate and serious. The vent cap on a roof also tends to be secured with sealant or flashing that needs proper resealing after access. A good Los Angeles dryer vent technician carries the right extension ladder and safety equipment, and if the termination is on a steep roof pitch, we use a harness and an additional anchor point. Do not access a roof with a standard A-frame ladder twice a year to save a cleaning fee. The math does not work in your favor.
No, the lint trap only catches a portion of the lint your dryer produces. The fine particles that pass through the trap carry through the transition duct and into the vent run, where they accumulate over time. Cleaning the trap after every load slows that buildup considerably and is the single best daily habit you can have, but it does not eliminate the need for periodic full-run cleaning. The trap catches what the trap catches. The vent catches the rest.
The Bottom Line
DIY dryer vent cleaning is safe and complete in exactly one household configuration: a short, straight, rigid duct run under four feet that vents directly through the wall behind the dryer. In every other scenario, especially the long multi-bend runs common in Los Angeles homes, a flexible rod kit trades visible cleaning for hidden compaction, and the blockage moves deeper instead of disappearing. Measure your run before you buy equipment. If you’re under 15 feet with fewer than two bends, DIY with caution and verify airflow afterward. If you’re over, hire a professional with rotary equipment and camera confirmation, and hold them to the standard of showing you the clean duct, not just telling you it’s clean.
Written by Marcus Veale, Owner at Linden Air Duct Cleaning, serving Los Angeles since 2004.