
Last updated October 8, 2026
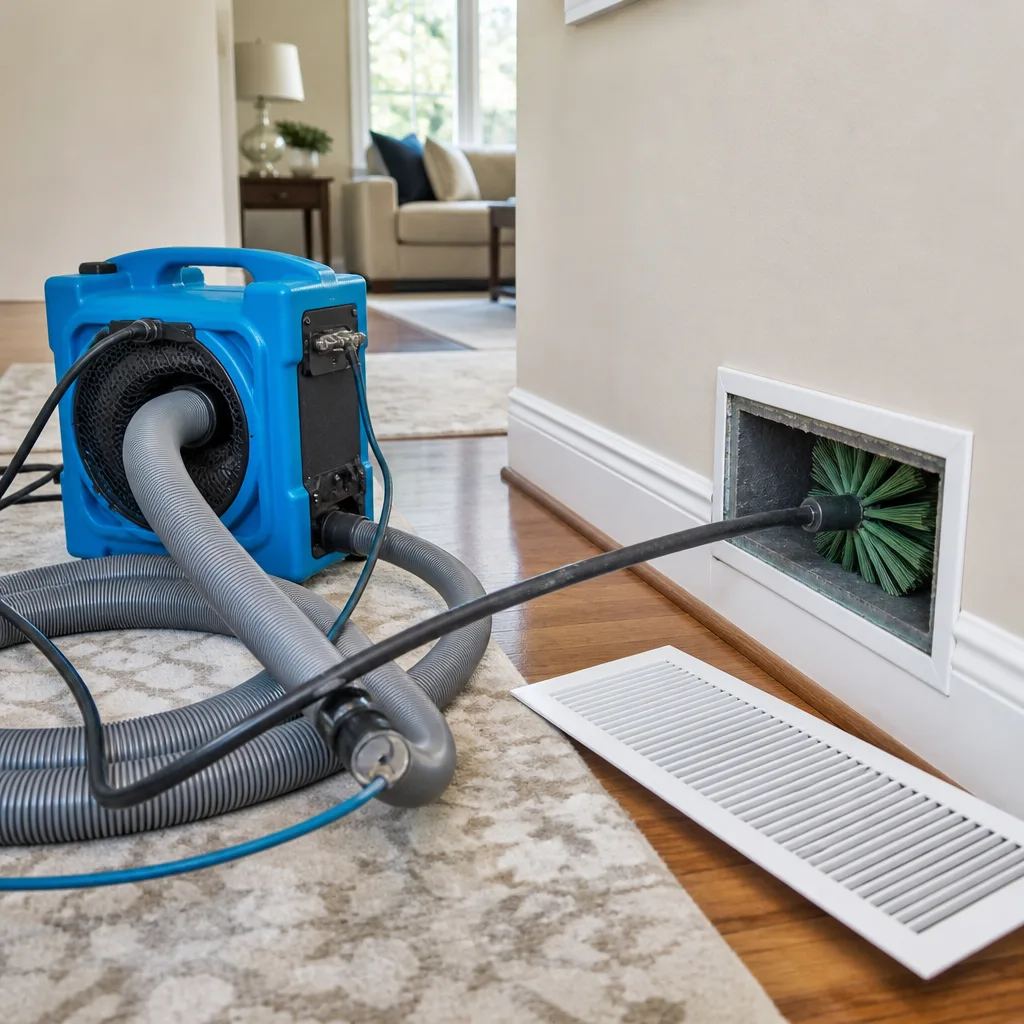
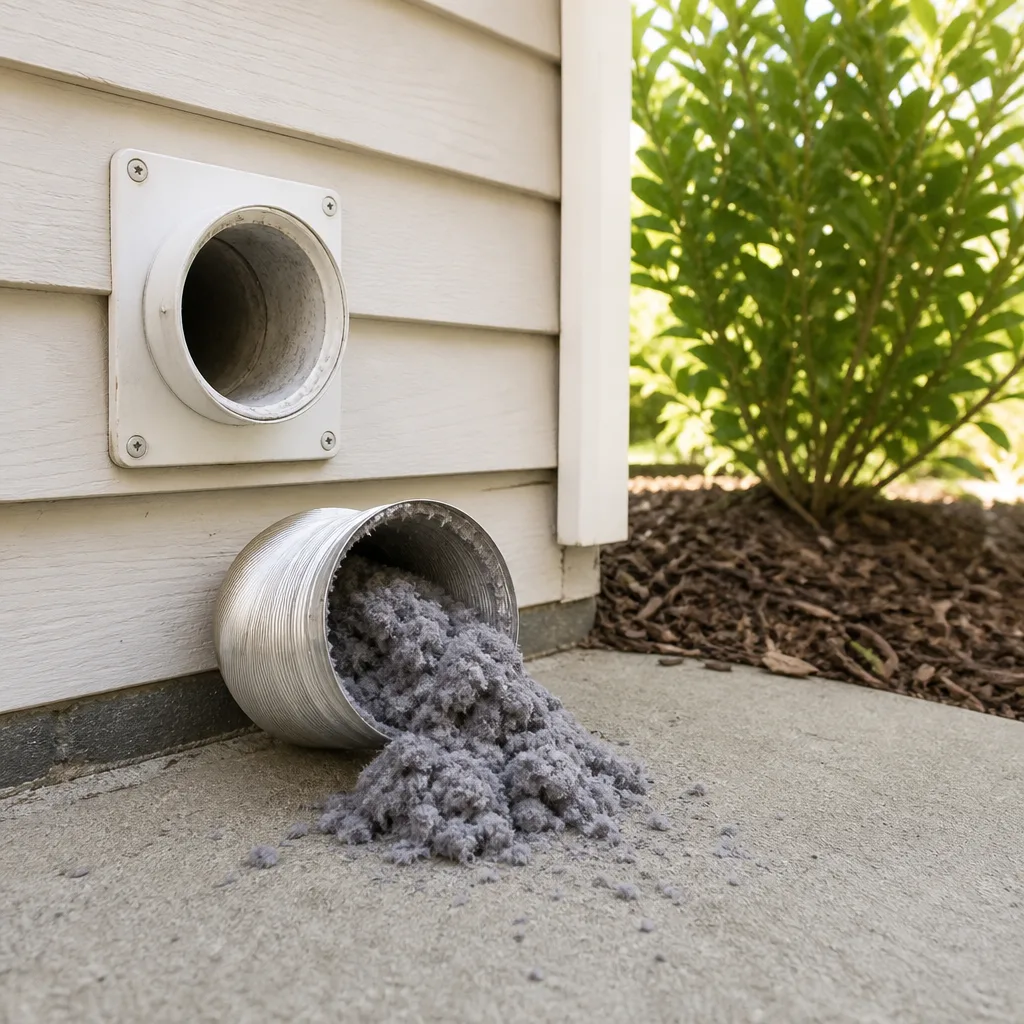
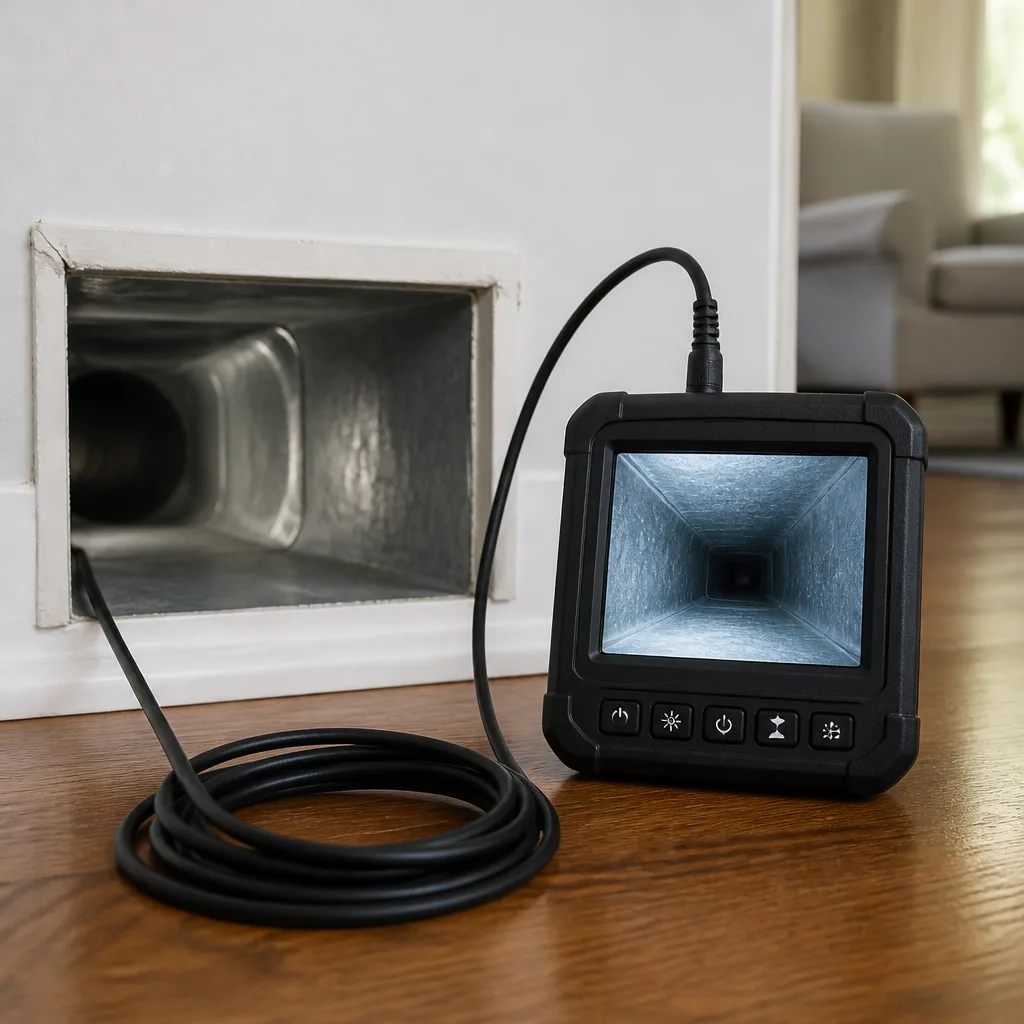
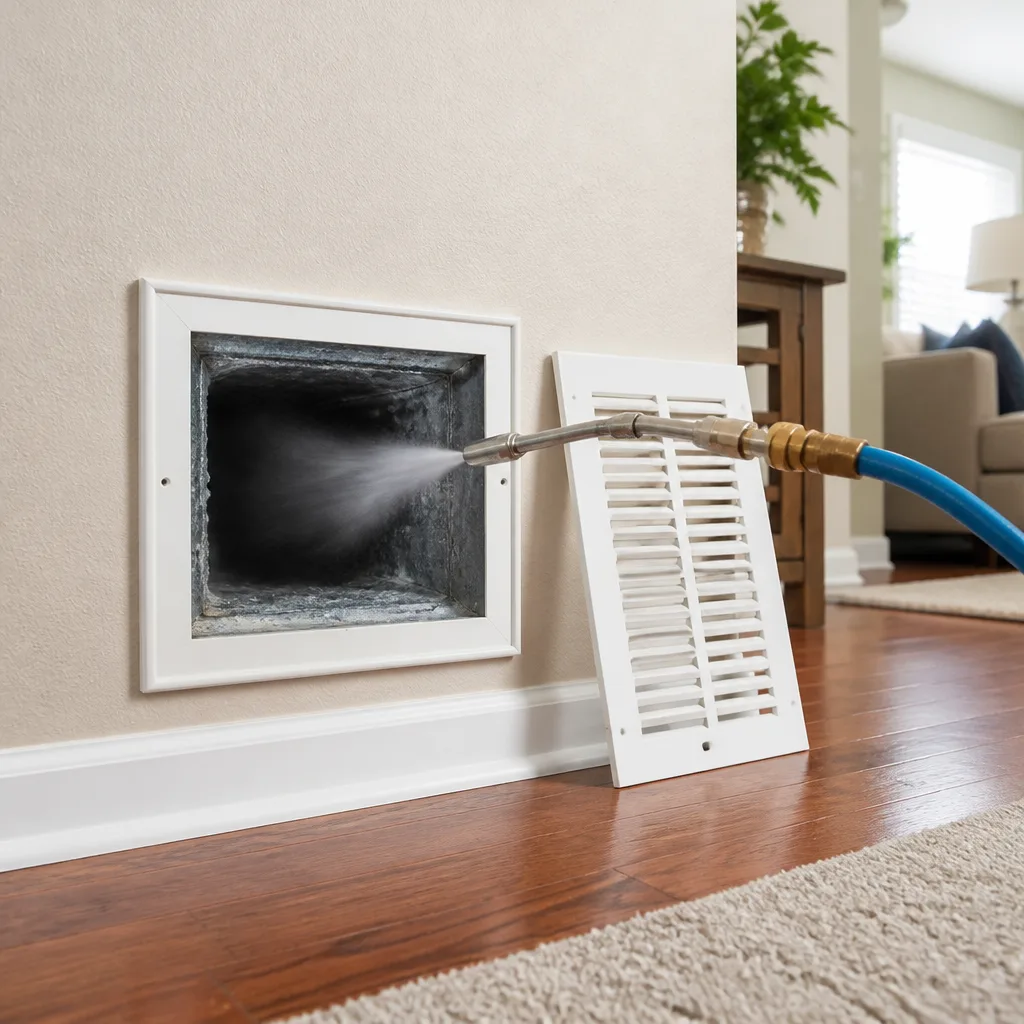
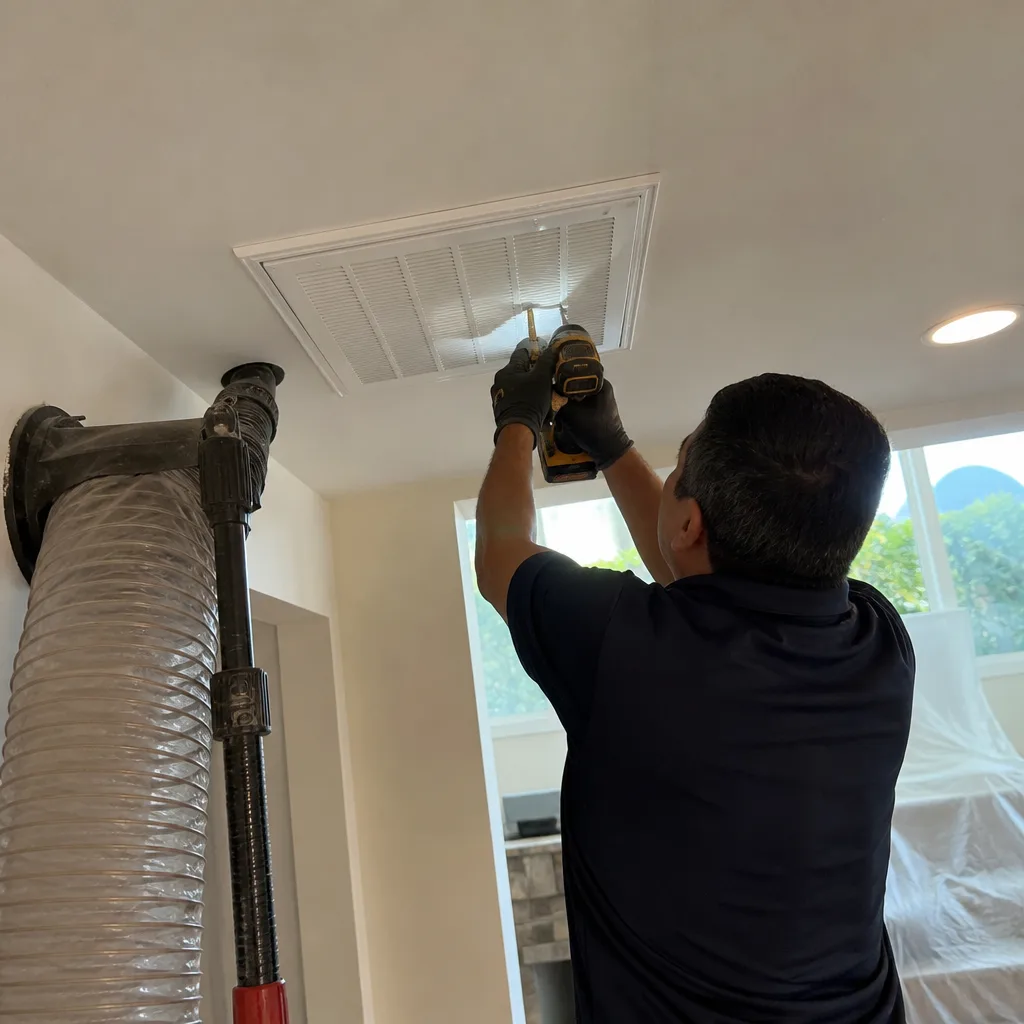
Whole-system duct and dryer vent check with before-and-after photos - you see exactly what came out of your vents
That "$99 whole-house special" is a bait ad - the real number appears once they are in your hallway, or the "clean" is a shop-vac at the register. We photograph the inside of your ducts before and after instead.
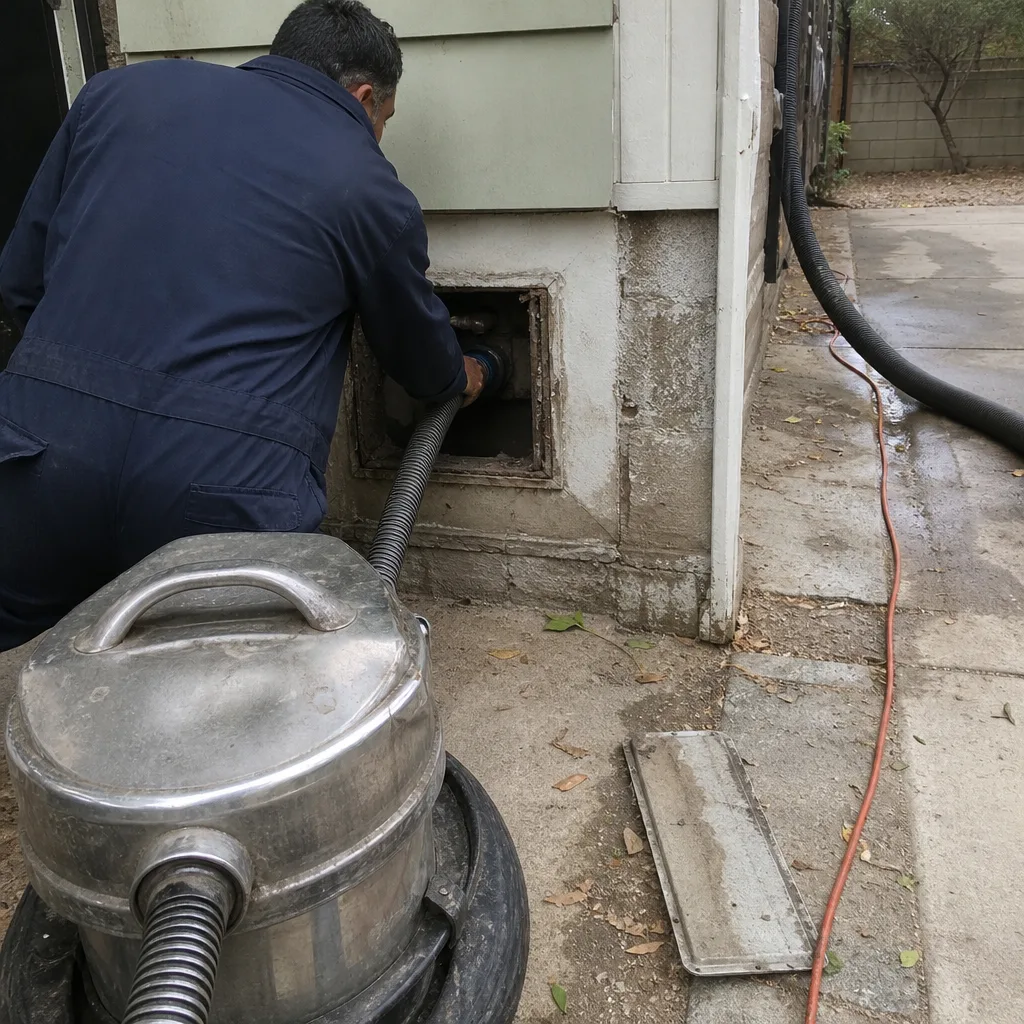 Before
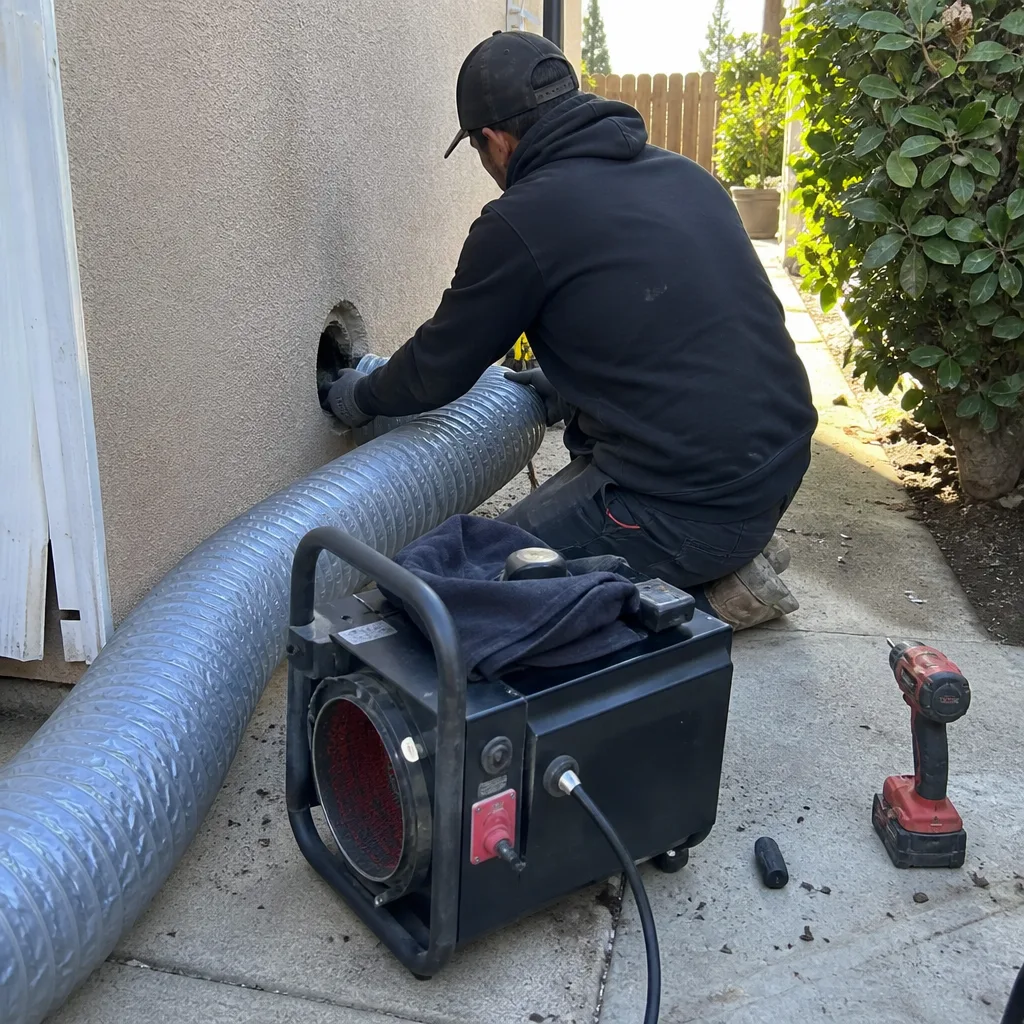 After
After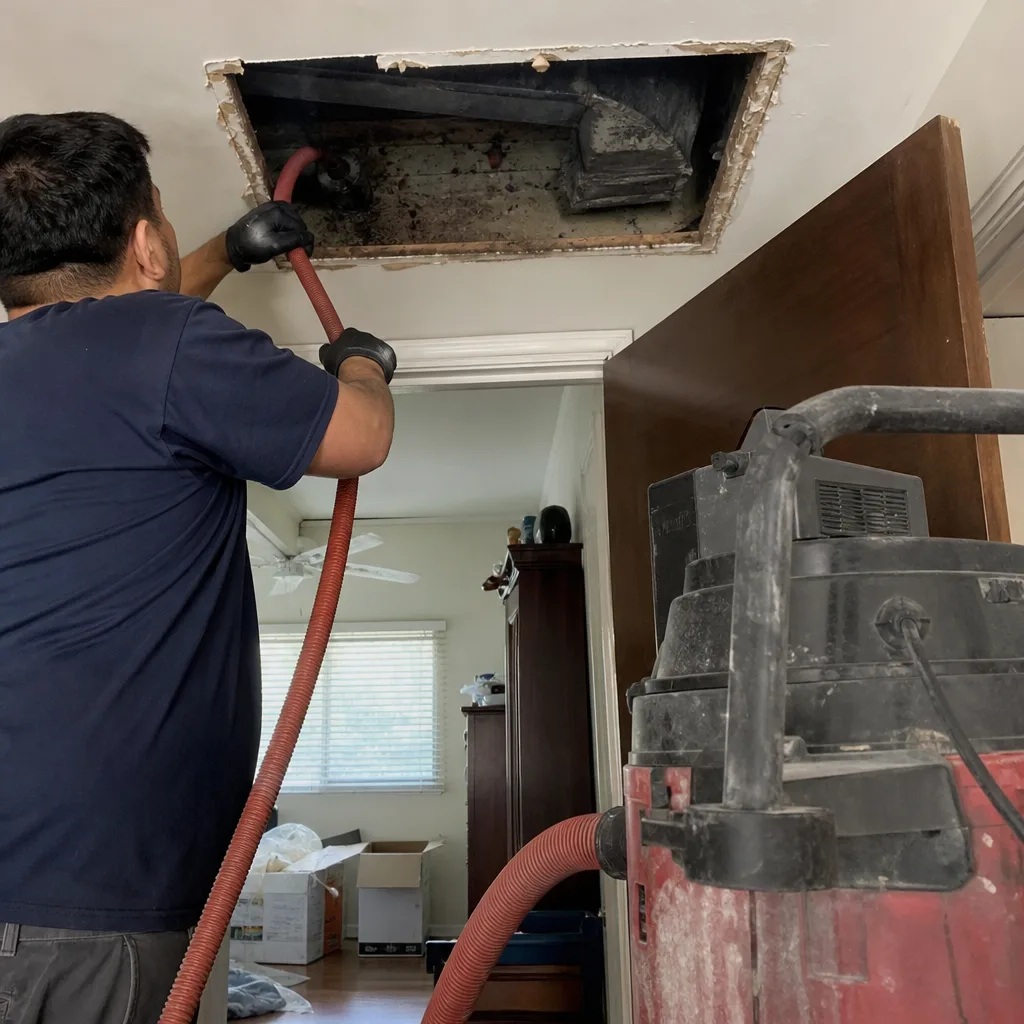 Before
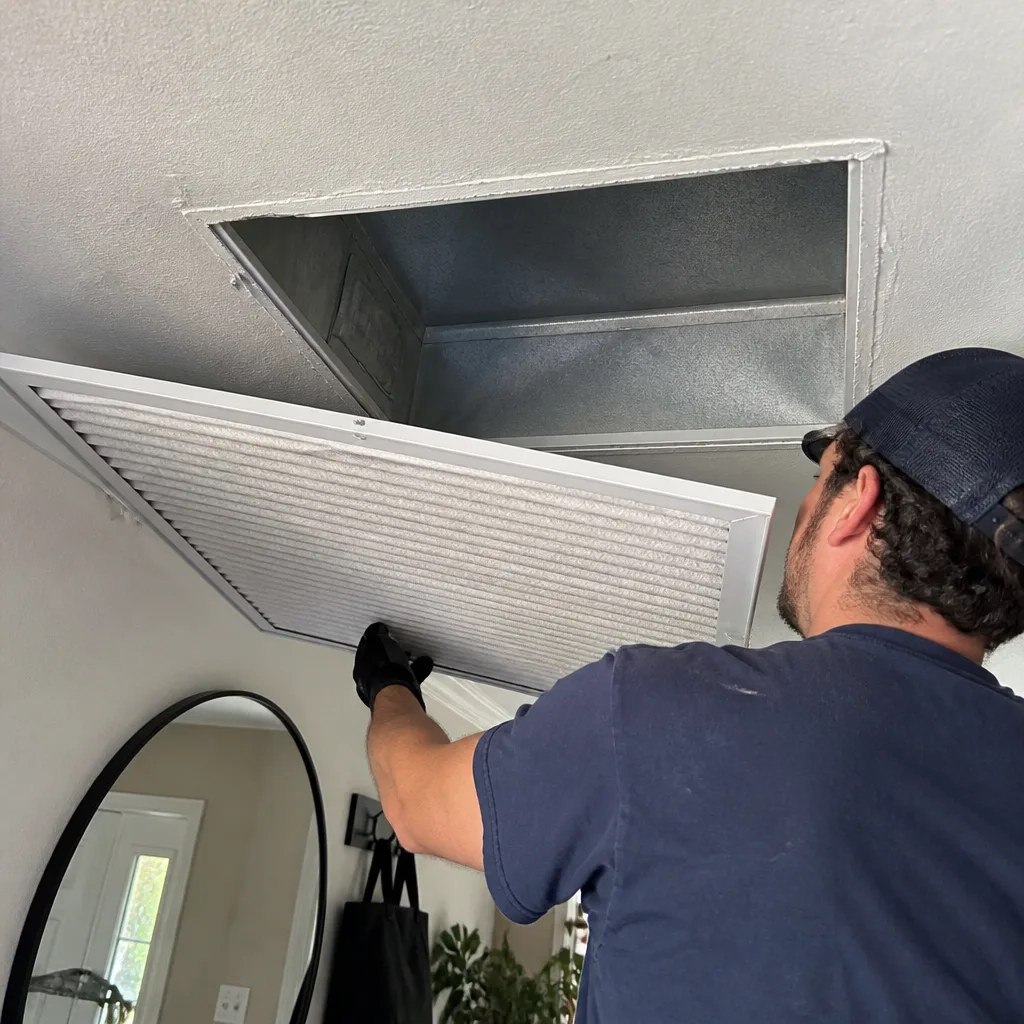 After
After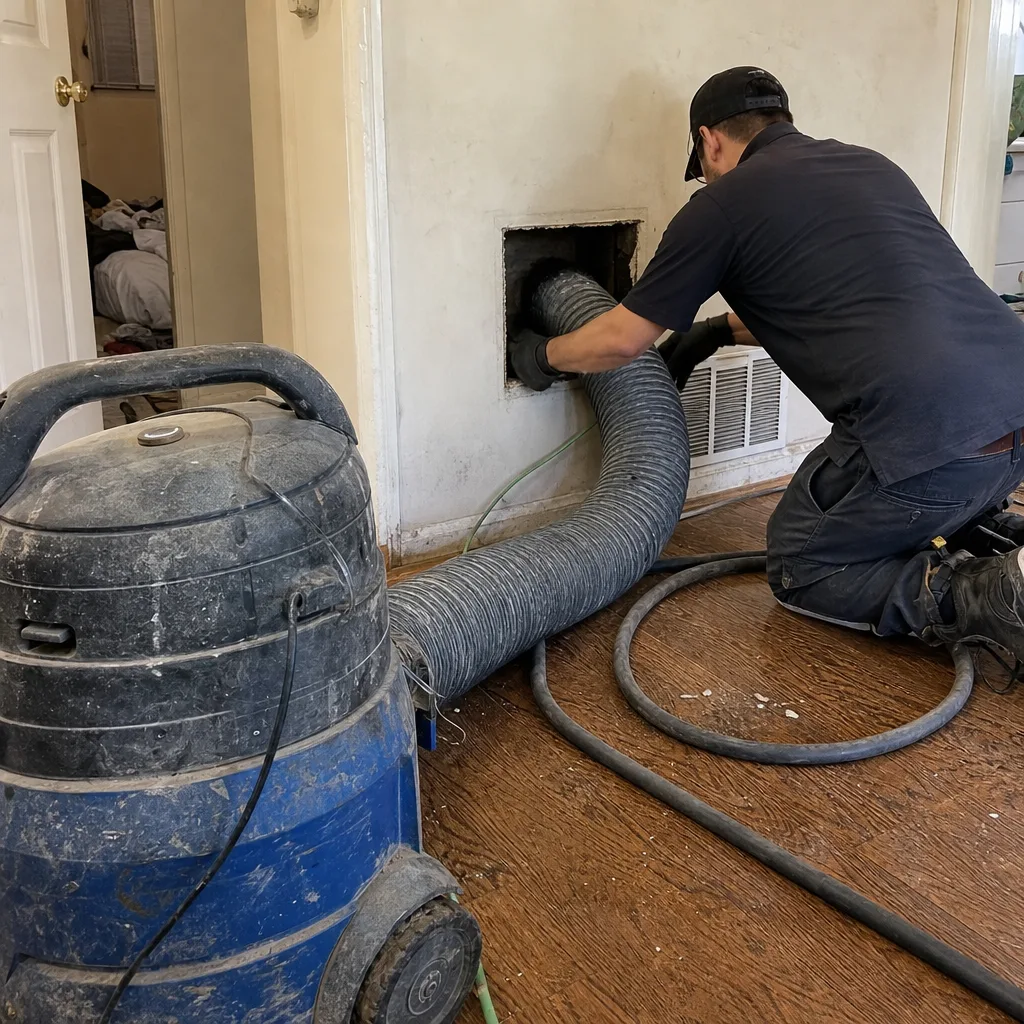 Before
 After
AfterDIY vs Professional Air Duct Repair: What’s Safe to Do Yourself
Foil tape applied over a leaking duct joint by a homeowner often fails within two heating seasons. The same repair done with mastic sealant, a $12 product most DIYers have never heard of, lasts decades. That gap between what seems obvious and what actually holds up is the entire story of DIY duct repair, and it’s one we see play out in Los Angeles attics every single week. This guide walks through the three categories of duct repair by risk profile, what actually works, what fails, and when the honest answer is that a professional will save you money in the long run.
Quick Answer
Safe DIY air duct repair is limited to accessible joint re-sealing with water-based mastic sealant and, for some homeowners, reconnecting a single flex duct run in a walkable attic. Duct sizing, trunk line work, anything near the air handler, and any repair requiring you to walk on joists in a non-walkable attic should be left to a professional. In Los Angeles, the deciding factor is usually attic access: many homes built before 1990 have attics that are not safely navigable without specialized equipment.
Table of Contents
- The Three Categories of Duct Repair by Risk
- Why Duct Tape Fails (And What Actually Works)
- Safe DIY Repairs: What You Can Do Without Hesitation
- Borderline Repairs: Flex Duct Reconnection in Reachable Attics
- Professional-Only Repairs: Duct Sizing, Trunk Lines, and Air Handler Work
- The Los Angeles Attic Reality: Why Access Changes Everything
- What DIY Repairs Mean for Warranties and Home Sale Disclosure
- Honest Cost Comparison: Disconnected Flex Duct Run
- Common Mistakes to Avoid
- When to Call a Professional
- Frequently Asked Questions
- The Bottom Line
The Three Categories of Duct Repair by Risk
Every duct repair falls into one of three buckets, and knowing which bucket you’re standing in is more important than knowing how to hold a caulk gun. We’ve done thousands of air duct repairs in Los Angeles, and the homeowners who get into trouble are almost always the ones who misclassified the job.
Category 1: Safe DIY
These are repairs where the duct is visible, reachable without walking on ceiling joists, and the failure is a simple air leak at a joint or seam. The fix is applying water-based mastic sealant, which you can buy at any hardware store for around $12 a quart. The risk is low because you’re working on exposed metal or flex duct you can reach from a stable surface, and the worst-case scenario of a bad job is that it still leaks, which means you call someone like us anyway.
Category 2: Borderline
This is the gray zone: a disconnected flex duct run in an attic that’s partially floored or has a catwalk, a small hole in an accessible plenum, or a loose takeoff collar you can reach without contorting yourself. These repairs are physically possible for a careful homeowner, but the risks compound quickly. If anything goes wrong, you’re dealing with insulation in your eyes, a torn duct you didn’t notice, or a code violation you created without knowing it.
Category 3: Professional-Only
Duct sizing, trunk line modification, anything within five feet of the air handler, and any work in an attic without safe walking surfaces. These jobs require static pressure testing, airflow measurement, and an understanding of how the entire system balances. A professional in Los Angeles also carries the liability insurance that covers the day you discover a cracked joist under the blown-in insulation.
Here’s the rule we tell every homeowner: if the repair requires you to leave a stable surface, it’s not Category 1 anymore. The labeling changes before the tools do.
Why Duct Tape Fails (And What Actually Works)
Standard cloth duct tape, the gray stuff with the fabric backing, has no business anywhere near ductwork. The adhesive breaks down when exposed to the temperature swings inside an attic, which in Los Angeles can mean 140 degrees in summer and near-freezing on cold desert nights. Within eighteen months, the adhesive dries, the tape peels back, and the leak returns, often worse than before because the residue attracts dust and makes a proper seal harder to achieve later.
Most building codes, including California’s Title 24 energy code, do not recognize cloth duct tape as an approved sealing material. What does work:
- Water-based mastic sealant: a thick paste that you brush or trowel over seams and joints. It dries into a flexible, permanent seal that lasts the life of the duct. Costs about $12 per quart at any home center.
- UL 181-rated foil tape: aluminum tape with an acrylic adhesive designed specifically for HVAC use. It’s not a substitute for mastic on joints, but it works for small tears and temporary fixes. Expect to pay $10 to $15 per roll.
- Fiberglass mesh plus mastic: for holes larger than a pinhole but smaller than a fist. The mesh gives the mastic something to bridge across.
The irony is that the correct materials are cheaper than the wrong ones. Duct tape costs about the same as mastic. The difference is that one of them fails silently in your attic, and you don’t find out until your energy bill climbs or a room stops cooling. In Los Angeles, where air conditioning runs eight months a year, a leaking duct is a continuous drain.
Safe DIY Repairs: What You Can Do Without Hesitation
If you can see the duct, reach it from a ladder or standing floor, and the problem is a leaky seam, you can fix it yourself with mastic and about an hour of work. Here’s the process, and it’s the same process we use on professional air duct cleaning in Los Angeles jobs when we spot a minor seam leak during service.
- Locate the leak: run your hand along the duct while the system is running. You’ll feel air escaping. For small leaks you can’t feel, mix a few drops of dish soap with water and brush it over suspect areas; bubbles mean air is moving through.
- Clean the surface: mastic will not stick to dust, old adhesive, or grease. Wipe the area with a damp cloth and let it dry completely. Five minutes of cleaning is the difference between a repair that lasts and one that fails in a season.
- Apply the mastic: brush it on generously over the seam, overlapping at least an inch on either side. Wear gloves; mastic does not wash out of clothing.
- Let it cure: mastic needs 24 hours before the system runs again. If you’re doing this in the summer in Los Angeles, plan the job for a morning and leave the AC off until the next day.
- Check your work: run the system and feel the seam again. No air should be escaping.
This repair works because you’re not changing anything about the system, just sealing what’s already there. The risk profile is low, the materials are cheap, and the failure mode is benign, meaning if you mess up, you just have a leaky duct, same as before.
Borderline Repairs: Flex Duct Reconnection in Reachable Attics
A disconnected flex duct run is the most common repair we see in Los Angeles homes, and it’s the one DIYers are most likely to attempt. The symptoms are obvious: one room never cools properly, the vent barely blows, and the energy bill creeps up. The fix looks simple on YouTube: find the detached flex duct, slip it back over the takeoff collar, secure it with a zip tie, done.
It is not always that simple. Here’s what the videos don’t show.
First, flex duct needs to be secured with the right fastener. The zip tie has to be a specific width and tension, and you need to seal the connection with mastic afterward. A duct that’s just zip-tied without mastic still leaks, and a flex duct that comes loose inside a wall cavity becomes a much more expensive problem. We’ve repaired flex runs in Los Angeles where a homeowner’s zip-tie repair pulled loose six months later because the duct was under tension and the connection wasn’t sealed.
Second, the duct may need to be stretched and supported. Flex duct that sags more than half an inch per foot loses airflow. If you’re reconnecting a run in a tight attic, you might need to add strapping, which means working above the insulation, which means the risk profile changed while you weren’t looking.
So here’s the honest classification: if you have a walkable attic or catwalk, you can see both ends of the disconnected run clearly, and the duct reaches the collar without stretching, this is a borderline DIY job. If any of those three conditions fails, it’s a professional job, not because you can’t do it, but because the consequences of doing it wrong in an attic you can’t safely navigate are too high.
Professional-Only Repairs: Duct Sizing, Trunk Lines, and Air Handler Work
Some repairs are not about skill; they’re about liability, measurement, and the limits of what a homeowner should reasonably take on. These are the jobs where we tell homeowners, even the handy ones, to stop and call us.
Duct sizing: if a room is chronically hot or cold and the duct serving it looks intact, the problem may be that the duct is the wrong size for the airflow the system delivers. Fixing that requires knowing the system’s static pressure, the required CFM for the room, and the friction loss per foot of duct. Get it wrong and you don’t fix the room; you unbalance the whole house, and now the bedroom that was fine is the one that’s sweltering.
Trunk line work: the trunk line is the main duct that branches feed off. Any modification to it, including adding a takeoff, resizing a section, or repairing a major failure, changes how the entire system distributes air. In a Los Angeles home with a central return and a single trunk run, this is the aorta of the HVAC system. You don’t want to be improvising on it.
Anything near the air handler: the first five feet of duct off the plenum take the most pressure and the most heat. Repairs in this zone have to hold up to constant stress and temperature swings. Code in Los Angeles also requires specific clearance and sealing standards at the plenum connection that most homeowners have never heard of.
Marcus Veale, our owner, says it plainly: the air handler zone is where amateur repairs go to die. The air is moving fastest there, and a small mistake compounds into a system-wide problem within a season.
The Los Angeles Attic Reality: Why Access Changes Everything
Los Angeles housing stock runs older than most people expect. Thousands of homes in Mid-City, West Adams, and the Valley were built between the 1930s and 1970s, and their attics were never designed for regular human access. Blown-in insulation covers the joists, the spacing is tight, and the roof pitch doesn’t give you room to stand. The ceiling below is original lathe and plaster in many cases, which cracks loudly and expensively when a misplaced foot goes through.
This is the calculation that rarely makes it into DIY discussion threads: a misstep in a non-walkable attic costs $800 to $1,500 in ceiling repair, before anyone touches the ductwork. The duct repair itself might have been $400 if you’d called a professional. The math flips the moment access becomes the limiting factor.
We’ve also seen homeowners in Los Angeles with finished attics or converted garage spaces where the ducting runs through inaccessible soffits and chases. You can’t repair what you can’t reach, and tearing out drywall to access a duct is not a DIY project in any meaningful sense.
If your attic has a catwalk or finished floor, you’re in a different conversation. But many LA attics are effectively crawl spaces with a ceiling under them, and the smartest move is to treat them as off-limits for anything heavier than a flashlight.
What DIY Repairs Mean for Warranties and Home Sale Disclosure
Two things nobody thinks about until it’s too late: the HVAC warranty and the seller’s disclosure form.
Most HVAC manufacturers require that duct modifications and repairs be performed by licensed contractors to keep the equipment warranty valid. This doesn’t mean sealing a seam with mastic voids your warranty, but reconnecting flex duct runs, modifying the trunk line, or touching the plenum certainly can. If your system is still under warranty and you do a borderline repair yourself, you may be trading a $300 professional fix for a denied compressor claim worth thousands.
On the disclosure side, California sellers must disclose any known material defects, including repairs that were done improperly. If you DIY a duct repair, sell the house, and the new owner’s inspector finds that the repair doesn’t meet code, you’re in a worse position than if you’d never touched it. We’ve been called to Linden Air Duct Cleaning repair jobs in Los Angeles where the seller’s DIY fix became a negotiation point in escrow. The buyer’s inspector flagged it, the seller had to pay for a professional correction anyway, and the whole thing cost two or three times what it would have cost originally.
The takeaway isn’t that DIY is always wrong. It’s that some DIY decisions have legal and financial tails you don’t see until years later. Sealing a seam with mastic is safe. Anything that modifies the system, reconnects the ducting, or touches the plenum deserves a pause.
Honest Cost Comparison: Disconnected Flex Duct Run
Let’s put real numbers on the most common repair scenario in Los Angeles: a single flex duct run that has come disconnected from its takeoff collar in an accessible but awkward attic. Here’s what each path costs, and we’re not going to pretend the professional option is always cheaper. Sometimes it isn’t, and you deserve to see the actual math.
DIY path:
- Mastic sealant: $12
- Large zip ties or duct strapping: $8 to $15
- Gloves, rags, flashlight: $15 to $20 if you don’t already own them
- Your time: 2 to 4 hours, longer if you’re in an attic you can’t stand up in
- Total out of pocket: $35 to $50
Professional path:
- Repair cost for a single flex run reconnection in Los Angeles: $150 to $300 depending on access difficulty
- Includes: proper fastening, mastic sealing, air flow verification, and a written guarantee
- Total out of pocket: $150 to $300
The DIY route is genuinely cheaper in dollars. The tradeoff is that a professional repair comes with a written guarantee and a second visit at no charge if the repair fails, which matters when the failure mode is a duct pulling loose again because it was under tension you couldn’t see. We include a written guarantee on every air duct repair, and if a covered repair doesn’t hold, the second visit is free. That’s not a sales pitch; it’s the number you should compare against the value of your Saturday morning in a hot attic.
Common Mistakes to Avoid
- Using cloth duct tape on ductwork: the adhesive fails within two heating seasons in Los Angeles attics, and the residue makes a future proper repair more difficult. Use mastic or UL 181 foil tape instead.
- Skipping the surface prep: mastic applied over dust or old adhesive peels off within months. Five minutes of cleaning is the whole ballgame.
- Walking on attic joists that are buried under blown-in insulation: one misstep costs $800 to $1,500 in ceiling repair in a typical LA home. If you can’t see the joists, you can’t safely walk on them.
- Reconnecting flex duct without sealing the connection: a zip tie alone leaks. The mastic is what makes the connection airtight, and skipping it means you’ll be back in the attic within a year.
- Ignoring duct sag after reconnection: flex duct needs support every four feet. A reconnected run that sags is a run that restricts airflow and eventually pulls loose again.
- Not checking the other end of the duct: a disconnected flex run often has a second problem at the register boot. If you fix the collar but miss the boot, the room still doesn’t cool, and you’ve wasted the repair.
- Diving into a repair without verifying HVAC warranty terms: some manufacturer warranties void on homeowner duct modifications. Check before you cut.
When to Call a Professional
Call a professional when the repair requires access you don’t safely have, when the problem is upstream of the branch ducts, or when you’ve already attempted a fix and the room still doesn’t cool. Specific triggers: any trunk line work, anything within five feet of the air handler, flex duct you can’t visibly confirm is fully seated, or a repair in an attic where you can’t walk safely. Same day is not how duct repair works; it’s a scheduled job, and the right technician will want to inspect the system, not just patch the visible problem. Linden Air Duct Cleaning offers free estimates in Los Angeles, and we’ll tell you honestly if a repair is something you can handle yourself. Call (980) 447-2498 if you’d like a second opinion before you climb into the attic.
Frequently Asked Questions
A simple flex duct reconnection in a reachable attic typically runs $150 to $300. Sealing multiple leaking joints runs $300 to $600 depending on access. Trunk line repairs or plenum work start around $500 and go up based on materials and difficulty. Every professional repair should come with a written price before work begins and a written guarantee after. Call (980) 447-2498 for a specific quote on your system.
Cloth duct tape uses a fabric backing and adhesive that breaks down under attic temperature swings, and it fails within two years in typical Los Angeles conditions. UL 181-rated foil tape uses aluminum and an acrylic adhesive designed for HVAC temperatures, and it holds for years. Neither is a substitute for mastic on structural joints; foil tape is for small tears and temporary fixes, while mastic is the permanent seal.
Yes, homeowners in California can perform basic duct sealing and minor repairs without a contractor’s license. However, any repair that modifies the duct system, including trunk line work and some reconnections, must meet Title 24 energy code requirements, and failing to meet them creates disclosure issues when you sell. The legal question is different from the practical question, and both matter.
Check the seam with your hand while the system runs and compare room temperatures before and after the repair. If the room still runs five degrees warmer than the rest of the house, the repair didn’t solve the problem. A professional repair includes airflow verification with a manometer or anemometer, which measures what your hand can’t feel.
Sealing a visible seam with mastic generally does not void a warranty. Reconnecting duct runs, modifying the trunk line, or touching the plenum can, depending on the manufacturer’s terms. If your system is still under warranty, read the terms before doing any repair beyond surface sealing, or call the manufacturer’s support line and ask directly.
The price difference usually comes down to access difficulty, whether the quote includes airflow verification, and whether the technician is actually going to inspect the whole system or just patch the visible problem. A quote that’s suspiciously low often means the tech will reconnect one duct and leave, while a higher quote includes a full inspection and a written guarantee. Ask every bidder what the price includes and whether the repair comes with a guarantee in writing. For a fair estimate on your system, call (980) 447-2498.
The Bottom Line
The right question isn’t “can I do this” but “will my fix stay fixed, and what happens if it doesn’t.” Safe DIY duct repair in Los Angeles is narrow: accessible joint sealing with mastic, and a flex duct reconnection only when you have a stable working surface and clear sight lines. If you’re unsure where your project falls, read our guide on DIY vs Professional Dryer Vent Cleaning: What’s Safe to Do Yourself for a similar risk framework. Everything else carries risk that shows up later in the form of ceiling repairs, warranty denials, or escrow problems. A $12 bucket of mastic and a careful hour in the attic is a legitimate money-saver. Anything beyond that deserves a professional’s eye and a written guarantee behind the work.
Written by Marcus Veale, Owner at Linden Air Duct Cleaning, serving Los Angeles since 2004.